
glue chipping-amazing glass craft tutorial step 1
glue chipping, I say Amazing because in today's hurry-up computer world of instant results, that folks have the time to wait for quality products to be made. Let me tell you that more crafts people are returning to our time honored traditions in classic sign making. Artist desire, no, more like they have an incredible wonder-lust to learn glue chipping, and that brings them to us to learn in our glue chipped signs workshop. Not all can travel to get a hands-on Glue-Chipping training, so we've put together this online glue chipped glass tutorial.
Hide glue typically chips 50 percent deep, so we prefer Quarter Inch Thick plate glass, and never chip glass on any glass thinner than three sixteenths of a inch thick because it is too thin and easy for someone to put their finger through and get hurt touching your artwork.
Step 1. Prepare Glass
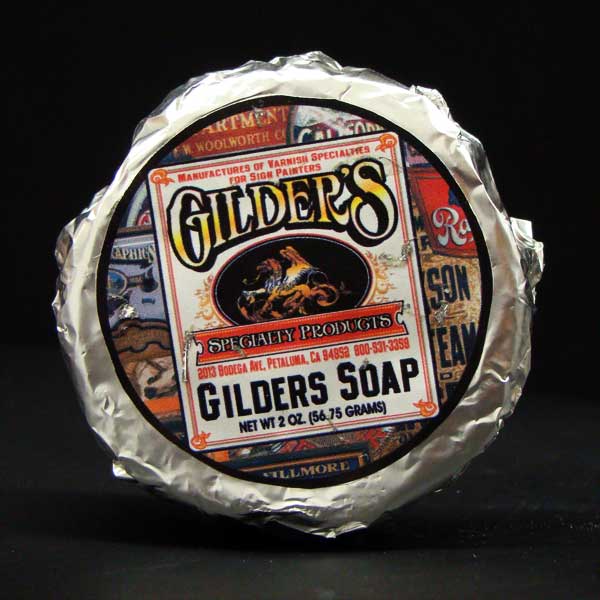
Clean Glass free of dirt, grease and waxes. I clean both side with mineral spirits to get rid of the oil based greases and waxes, then I use gilders soap which contains lye to remove the mineral spirits oils.
Next I clean one final time with spray-away glass cleaner to remove any remaining waxes, spray-away glass cleaner doesn't have any ammonia oils like windex which uses the oils to grease up your windows to make them shine. normal glass cleaners are bad because they leave oil behind, which is bad when paint glass with sign paints.
Finally cover 1 side of the glass with paper or transfer paper mask, this will protect the front of the glass from scratches while you are working on the back-side of the glass.
glue chipping products listed below
